
Mission: Seize Ground (5 objectives)
Deployment: Pitched Battle
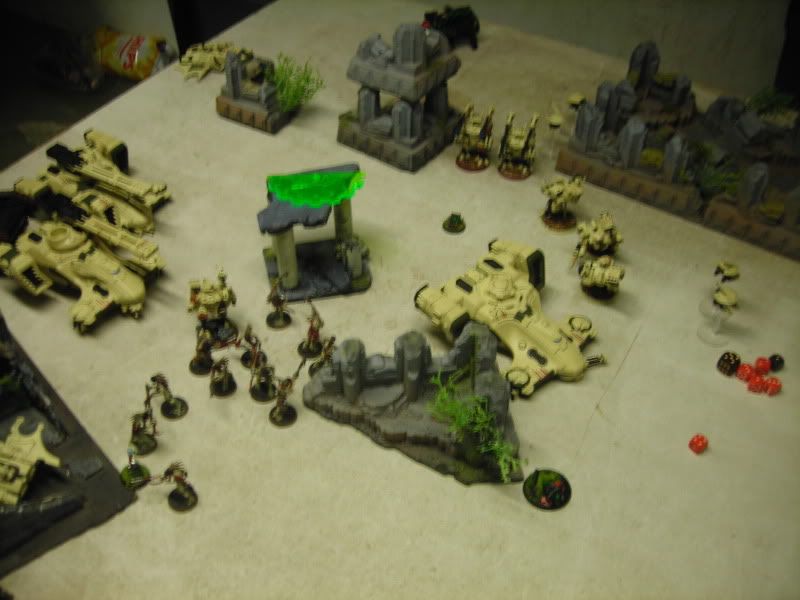
(Picture by Deviantart's Slipgatecentral)
Armies:
Tau:
HQ - Commander
Elites - 3 Battlesuits
2*Stealth Teams
Troops - Fire Warrior Squad
2*Kroot Carnivore Squads
Fast Attack - Pathfinder Squad
2*Piranha
Heavy Support - Broadside Squad
2*Hammerheads
Space Marines:
HQ- Kor'sarro Khan
- Librarian
Troops- 10 Tactical Marines + Rhino
- 5 Tactical Marines + Razorback
Elites- 5 Assault Terminators + Land Raider
- Dreadnought
Fast Attack- 5 Assault Marines + Rhino
- 3 Scout Bikers
- 2 Land Speeders
Heavy Support- Thunderfire Cannon
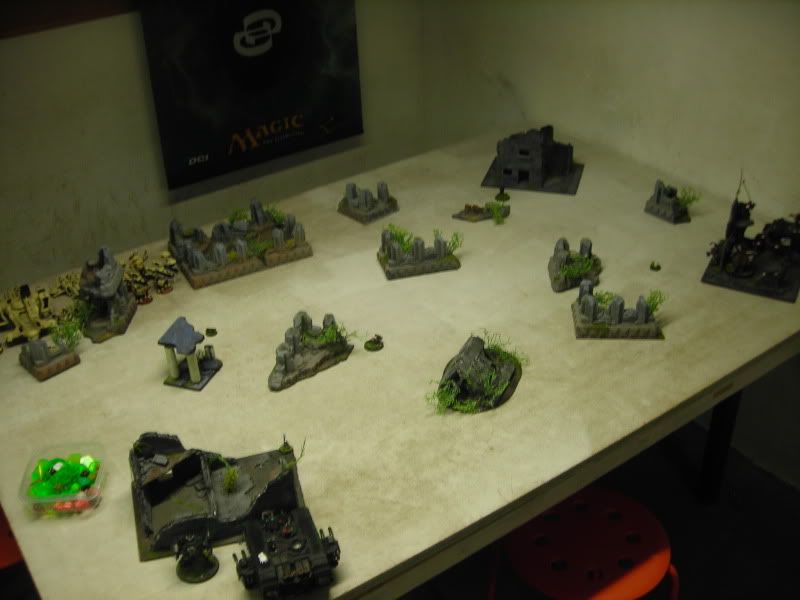
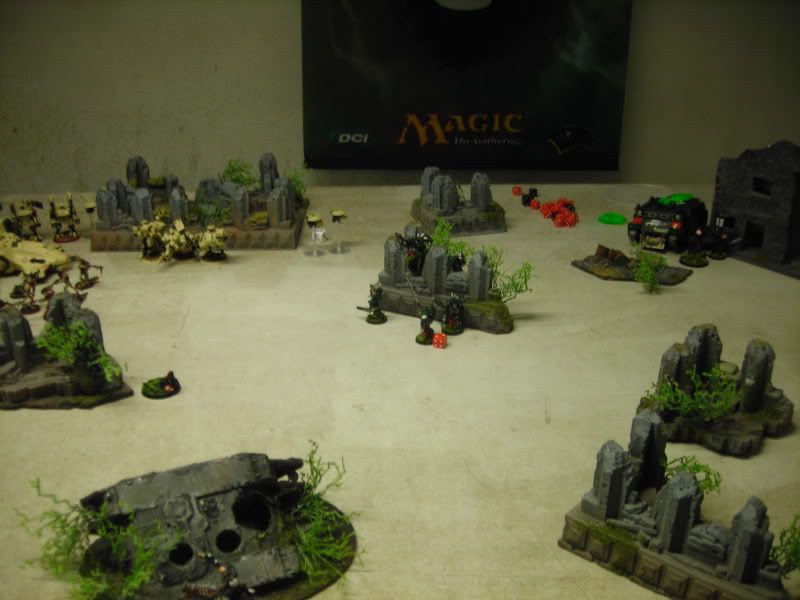
Deployment:
The Tau deployed first, castling up in their corner. I placed my Land Raider and Dreadnought behind a reinforced ruin on my left flank, to try and pin the Tau in their corner. My Thunderfire Cannon deployed in the opposite corner of my table edge, together with the Rhino squad, which split into combat squads. The Razorback squad, together with the Librarian, and the Assault squad, together with Khan, both Outflanked. The Speeders were going to Deep Strike and my Scout Bikers would come in from regular reserve.
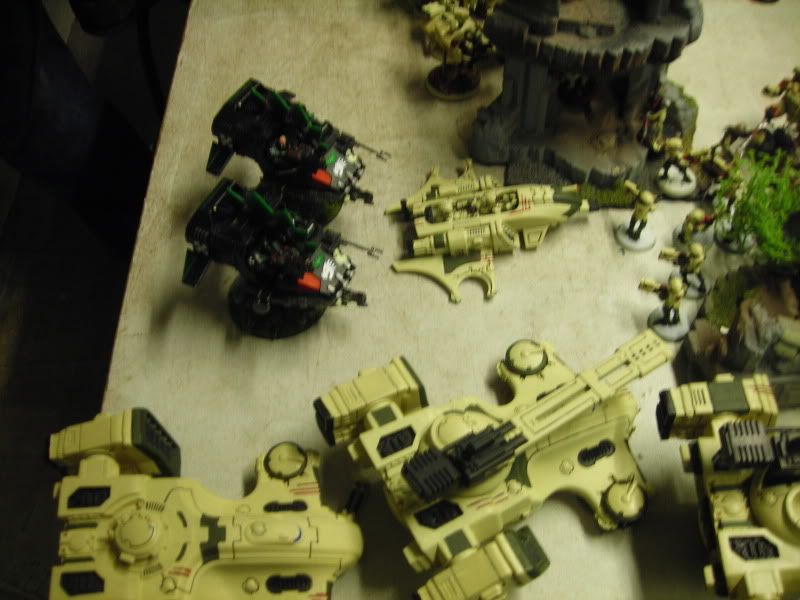
The Tau Infiltrated their Stealth Suits and Kroot, the Suits deploying centrally and behind the ruin across my right flank.
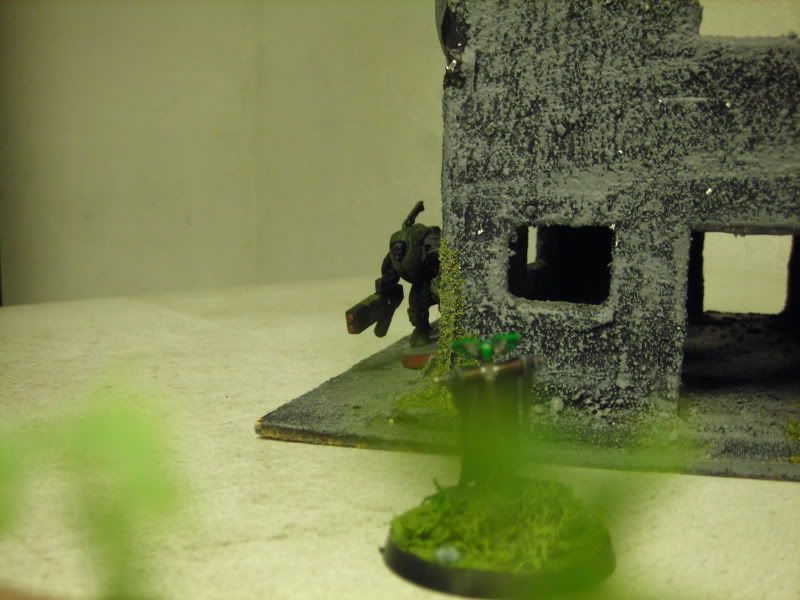
Peek-a-boo!
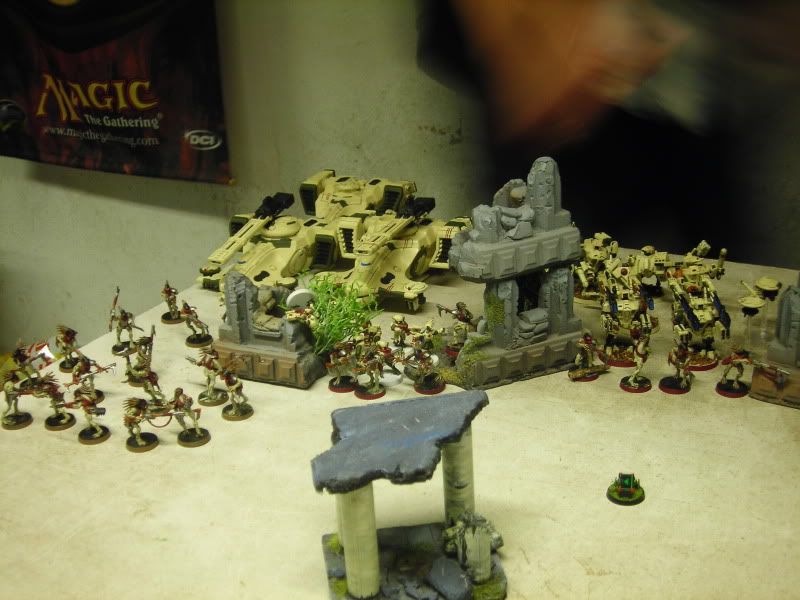
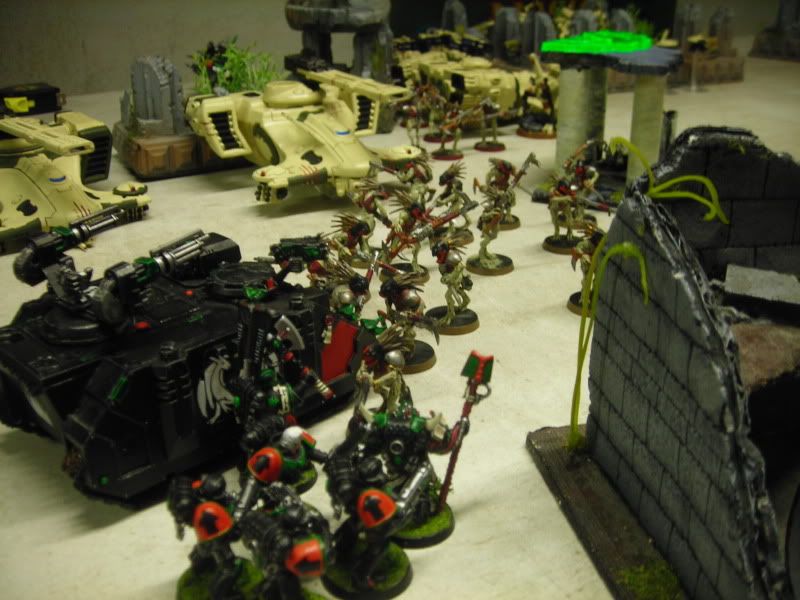
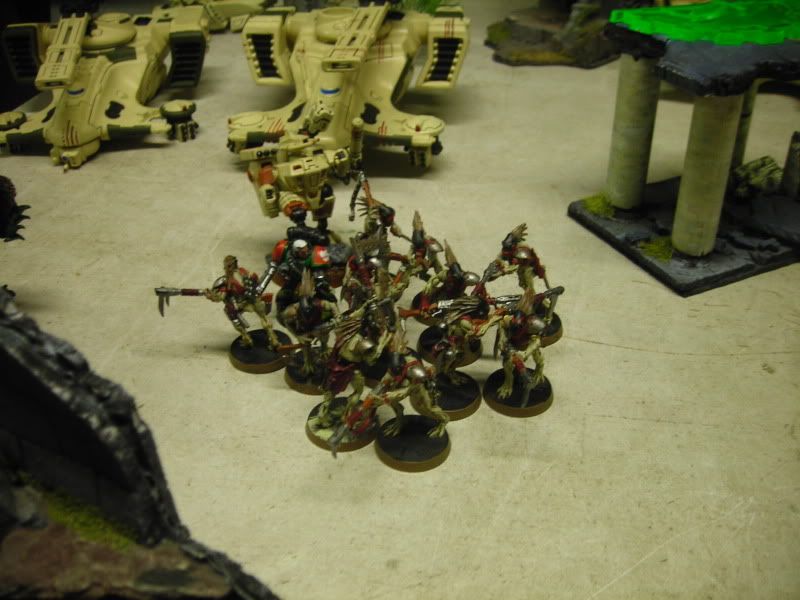
Meanwhile the Kroot formed a protective meatshield in front of the Tau tanks and Suits.
Turn 1
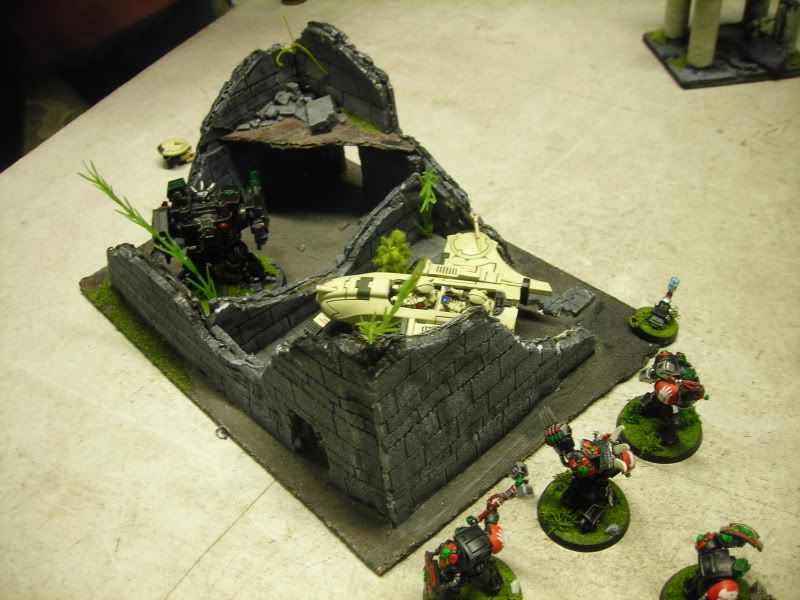
The Pathfinders lit up my Raider and reduced its cover save to 5+. The Broadsides then blasted away at the vehicle with their railguns and blew it up, forcing the Assault Terminators inside to slog it across the board on foot! A Piranha zoomed up to take out the Dread next turn. The Hammerheads fired a volley at the Thunderfire Cannon and scored a wound on the Techmarine, who went to ground and passed his cover save.
The Dreadnought moved into the ruin and targeted the Piranha closing in on him, but failed to take it out. The Terminators moved up a bit. The Rhino squad also moved up towards the objective on the far side of the board, guarded by the hidden Stealth Suits.
Turn 2
The Piranha landed behind the Dreadnought, but crashed itself in the process. The Hammerheads targeted the Thunderfire Cannon again and blew it up. Meanwhile, a torrent of fire from the remaining Tau forces melted the Terminator squad down to the Sergeant.
The Immobilized Piranha fired its fusion blaster at the Dreadnought and utterly destroyed it.
My 'anvil' was faltering fast so I was hoping for some good reserve rolls to take the heat of my remaining units. Unfortunately, only the Speeders and Assault squad arrived, with the Assault squad moving up the wrong table edge!
Nonetheless, Khan and his mates made the best of it by chasing the Stealth team off the board with their pistols. Meanwhile, the Speeders executed a daring Deep Strike right in the centre of the Tau lines.
With so many juicy targets to choose from, the Speeders decided to go for the Pathfinders, catching the Piranha as well. The Pathfinders were annihilated but the Piranha laughed off the flamers licking at its armour plates. With hindsight, the Devilfish was probably the best target, but revenge for your Land Raider is a dish best served with burning hot prometheum!
The Terminator Sergeant bravely charged across the board by himself, but had a long way to go before he'd reach the Tau lines.
Turn 3
The Tactical squad's Rhino was destroyed by a Railgun shot, but the Marines safely disembarked into the ruins next to their wrecked transport. The Terminator Sergeant was blasted off the table by a hail of plasma fire, as were the Speeders.
The Scout Bikers arrived this turn, and charged a Stealth team that had strolled to close to my table edge.
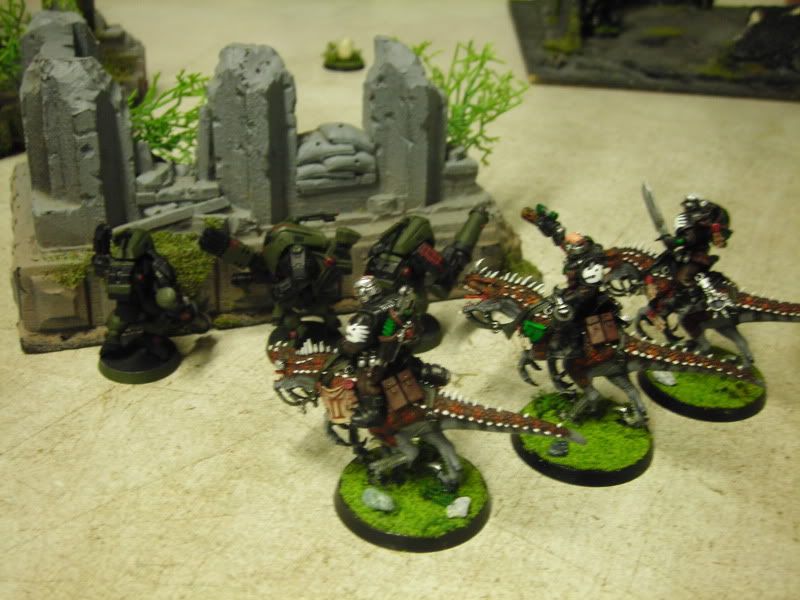
Khan and his Assault squad embarked in their Rhino again and the vehicle drove up and popped smoke. The Stealth team managed to kill a Scout before being run down by the remaining two hungry velociraptors.
Turn 4
The Tau began to move up to control some objectives, the Devilfish claiming one for the Greater Good.
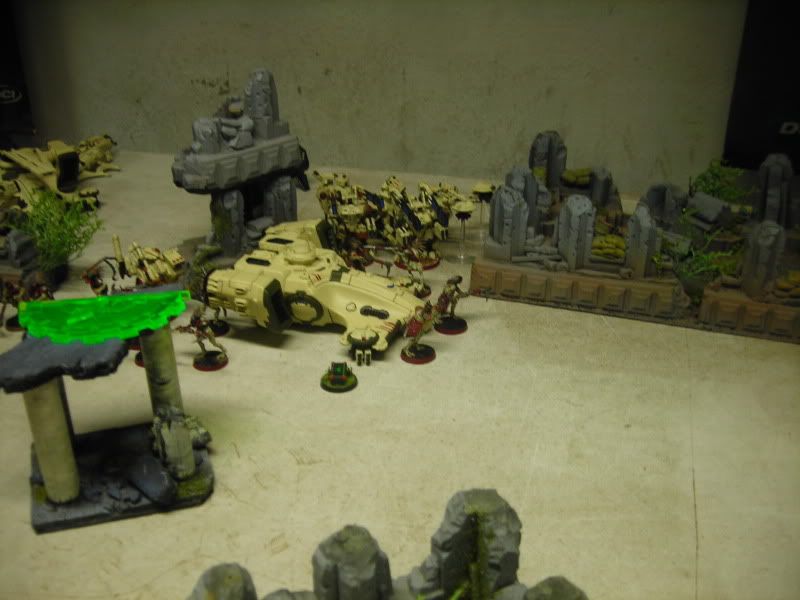
Another Scout Biker bit the dust to pulse fire, leaving only the Sergeant standing. Meanwhile, Khan's Rhino was Immobilized.
Khan and his squad continued the advance on foot, running for some cover that overlooked one of the objectives. The Biker Sergeant ducked behind another piece of cover overlooking another objective.
Turn 5
The Kroot now also moved towards two objectives but couldn't reach them yet. Meanwhile a gun drone rose above the wall behind which the Biker Sergeant was hiding and shot him.
Khan and his buddies were subjected to a massive amount of fire, but though the Khan suffered two wounds, the Assault squad passed all saves required of them. A Hammerhead killed two of the far-away combat squad carrying the Missile Launcher.
Finally, my Razorback arrived, disgorging its passengers next to the Kroot squad that had fanned out to capture the objective near the short table edge. My two Tactical Squads both moved out to control the two objectives near them.
The Razorback targeted the Devilfish, Stunning it. The Kroot lost a number of their squad to bolt shots and the Librarian's Avenger, but passed their Morale check.
I was actually ahead of the Tau by one objective at this point, so I crossed my fingers and prayed for the game to end, but fortunately for the Tau it didn't.
Turn 6
The Hammerheads moved up and blew my Razorback apart, and the Librarian and his squad suffered pretty much the same fate, leaving only a single Marine standing. Khan and friends were again subjected to some devastating firepower but amazingly passed all their saves! The Missile squad however was not so lucky and lost another two Marines despite going to ground for a 3+ cover save. Only the heavy weapon trooper was left standing to claim the objective.
Khan and his mates charged the nearby Kroot squad and the surviving battle-brother from the Razorback squad charged the other, hoping to pull them off their objective.
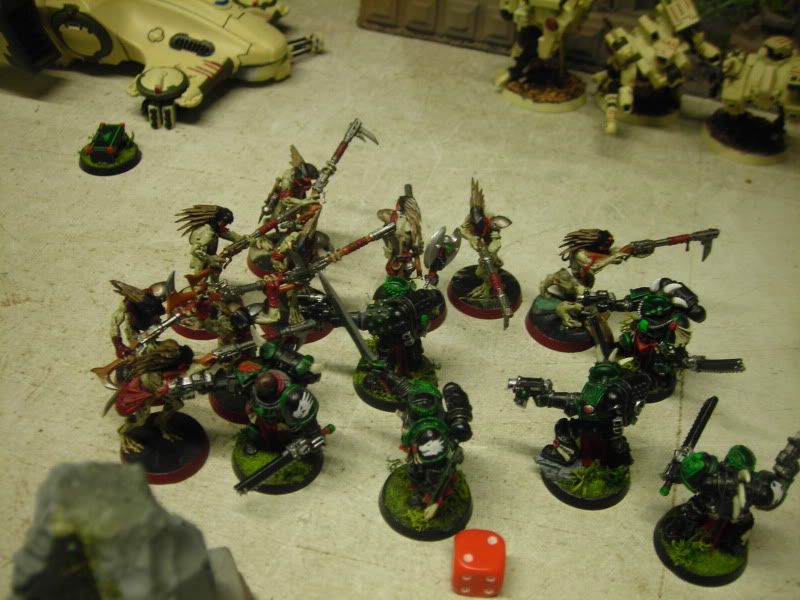
Khan and his squad cut through their Kroot like a hot knife through butter, but the lone Marine was killed easily by the other Carnivore squad and eaten for lunch. The Kroot then consolidated neatly back onto their objective. Khan could fortunately consolidate his squad on top of the other Tau objective to contest it, meaning again the Tau were behind by one objective!
However, the game went to turn 7, meaning the Tau had another turn to get rid of Khan and his squad for good.
Turn 7
Which, of course, they did without much effort. The lone Marine guarding one of my objectives also caught a railgun shot in the chops and died, leaving the Tau in control of the field, 3 objectives to 1!
Victory for the Tau!
Another great game, I was surprised to be able to pull off ahead of the Tau in turns 5 and 6, just proving the power of second turn in an objective game. Even if you get slaughtered all game you still have a chance to win if you have some stuff to contest.
Niek played very well, his deployment gave me lots of trouble and is probably the best way to deal with Outflankers. Castle up in one corner, seal off your back line with vehicles, and deploy a cheap meat shield in front of your units. 1/3rd of the enemy will arrive too far away to contribute anything to the fight for a few turns, and anything arriving on your side can't immediately target your valuable stuff.
My hammer+anvil strategy didn't work, I think most importantly because there was just no way my Raider was going to survive two rounds of Tau shooting, especially with the Pathfinders lighting it up with their Markerlights. If I had taken first turn, perhaps it would've worked a bit better, but probably not. Next time, I'll Outflank my Raider as well and see how that works. Secondly my list isn't optimised yet to really take advantage of Outflank. I need some more Razorback squads, so I have more chances of multiple units arriving on the same flank simultaneoulsy so they can support each other, or provide long ranged fire support if they arrive on the wrong flank.
Time to break out the paints and build some Razorbacks!


No comments:
Post a Comment